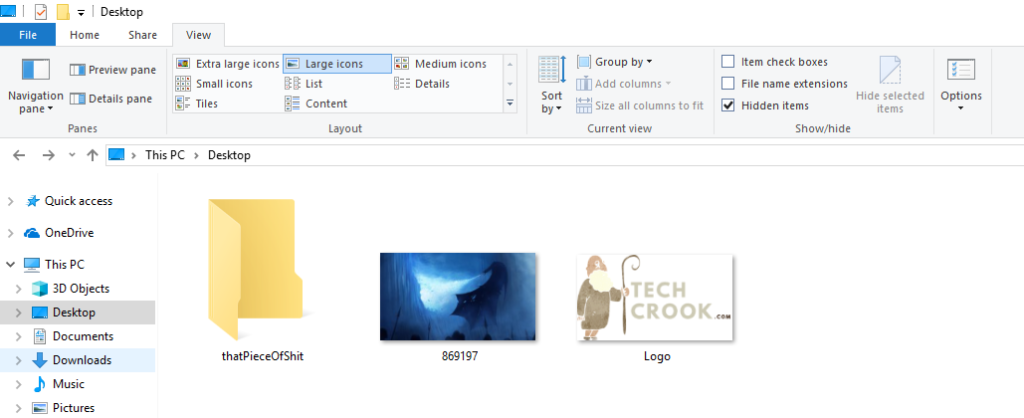
In this tutorial, we will discuss, how to view and edit file extensions in Windows 10 / 8 / 8.1
The file extensions like .zip are generally figured out using the icons or just hovering over that specific element. But what if you want to edit that file extension. Editing the file extension will help you achieve several things. Like, if there is any .png image and you want the .jpg, you can simply change the extension from .png to .jpg.
You can also give a confusing file extension so that user have no idea what that element is. It is the easiest way to hide a thing in system.
For example – If you have the daniel.zip file just change that extension to something random like daniel.komirik. Now it will show a blunt icon(my way to say blank icon). Now, the system doesn’t know what it is and which app he needs to open with it.
He will ask the user, as the user has no idea which app that can open it, he will stop right there. It is the safest hack to save your files/software from others.
Daniel – 1, Cousins – 0.
So, in this tutorial, you will know how to enable or disable the name of extensions and view them in the file name itself.
You can also watch the below video or just follow the instructions given in the article:
Step I – First open any folder.

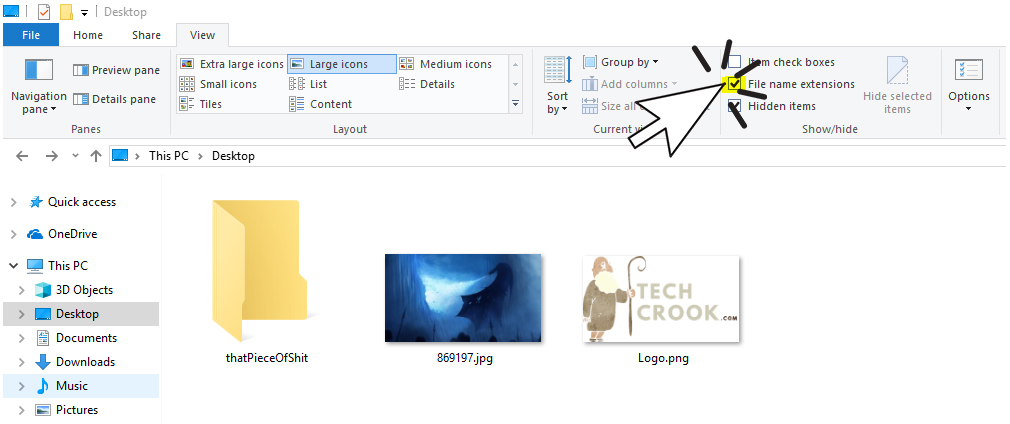
Step II – On the top of the folder, you will see the options. Just click on the View or Click the shortcut key ALT + V.

Step III – On the extreme right, you will see 3 checkboxes. Check on File name extensions and you will start seeing your name of extensions later onwards.

Once you check that up, you will start seeing the file extensions, just like above. Now, by right clicking any of the elements you can change/edit the file extension to whatever you want.
The main purpose of the blog is to share the easiest process to do something with a proper explanation. So, if want, bookmark us. We post something new and interesting everytime.


1 thought on “How to see File extensions in Microsoft Windows”
Comments are closed.