
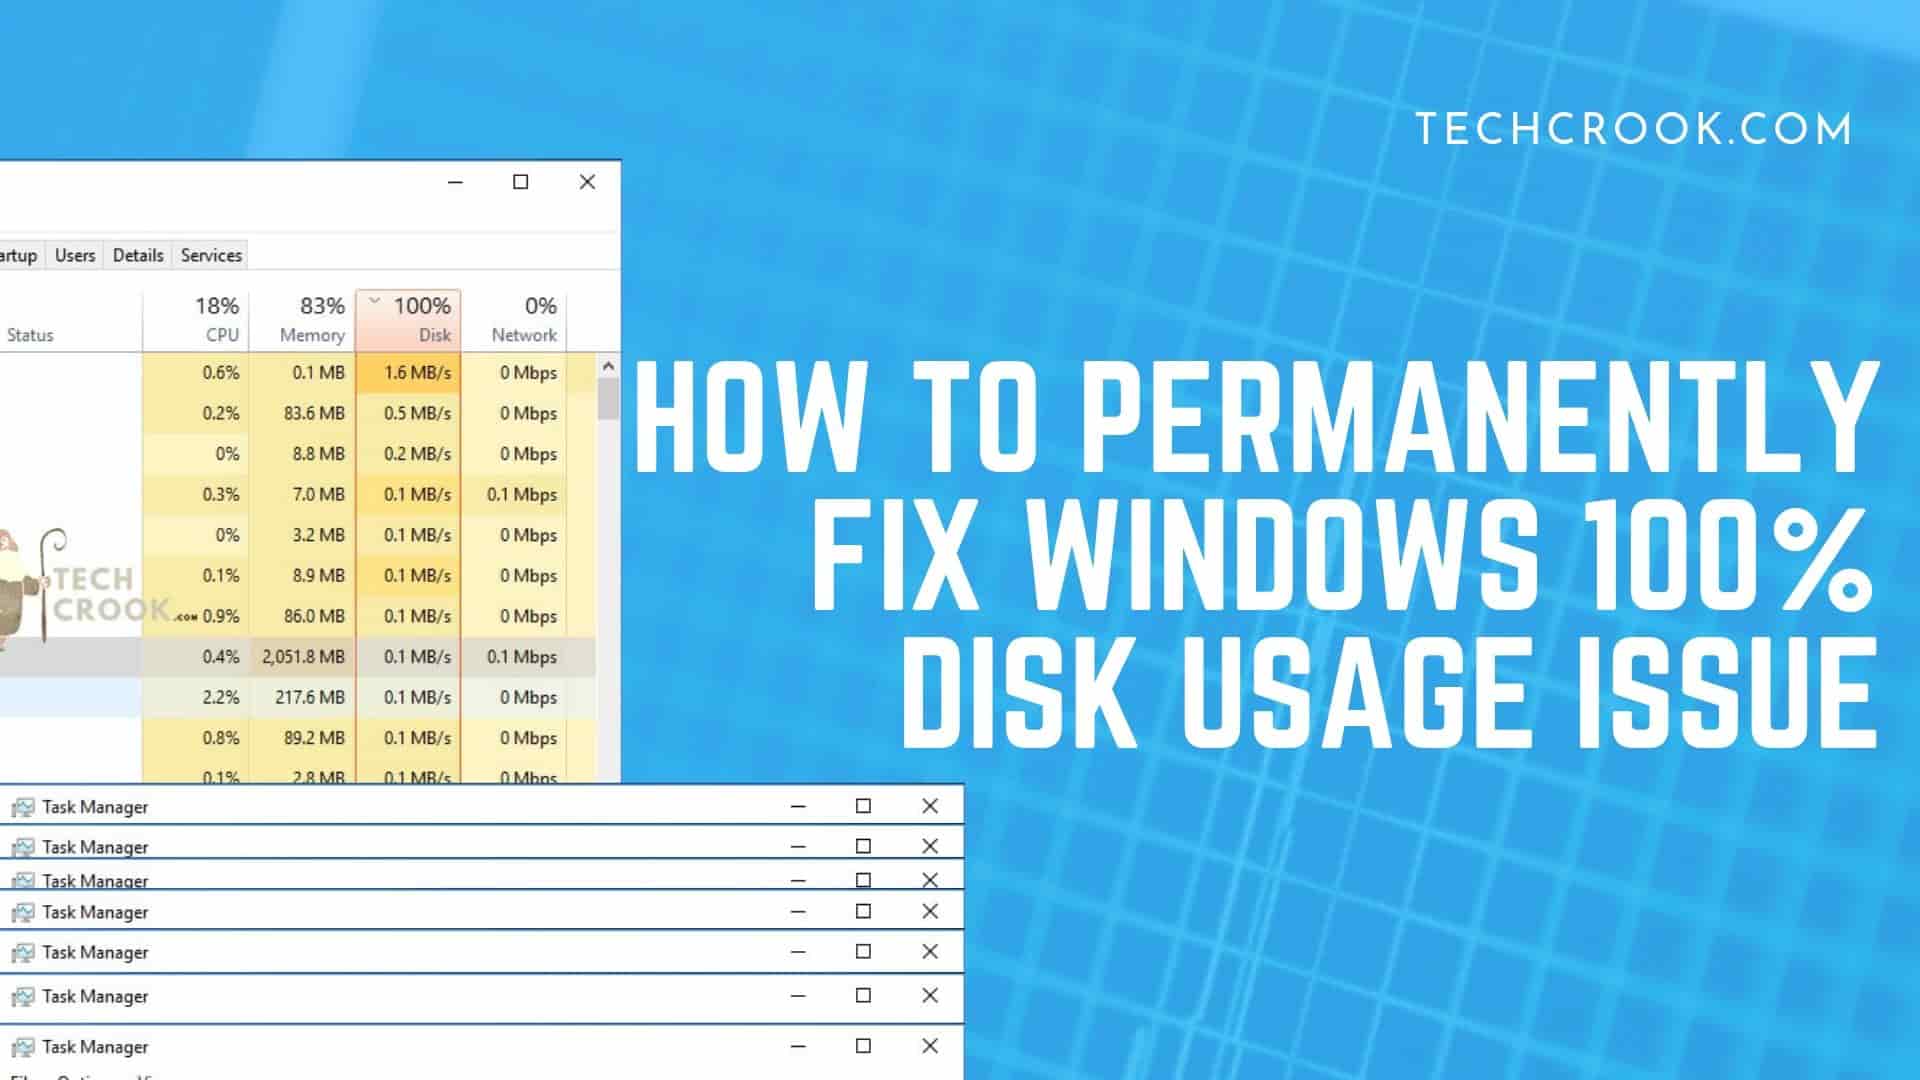
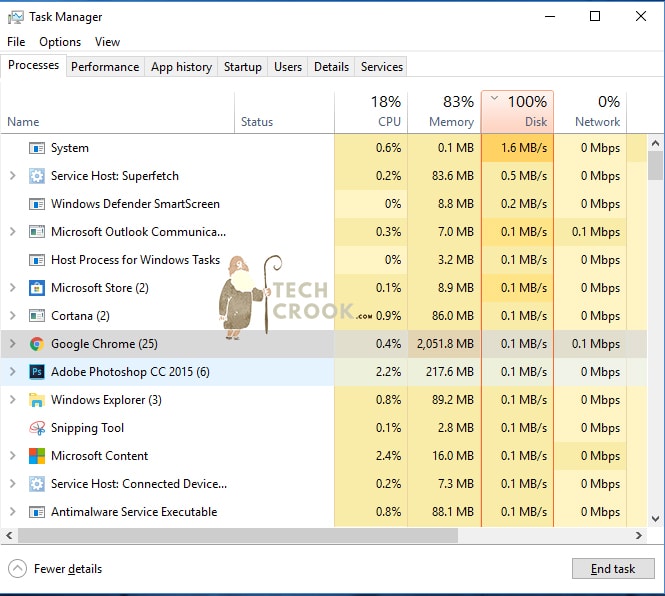
Disk reaches 100% on starting the PC or chrome in Windows. Here are 3 solutions to permanently fix 100% disk usage at startup problem in Microsoft Windows. Task manager shows 100% disk usage at startup and everything start lagging and you need to restart.
Follow these 3 step by step tutorial and you will never see that problem again until its RAM problem.
Fix 1 –
In this fix, we will check whether this problem occurs because of Windows search. A bug in Windows 8 and 10 results in a sort of “Search loop” that results in an increased load on the system drive.
So, we will disable this windows search and check whether this solves your problem or not. Let’s stop this process first and check whether it fixed your problem or not, if it fixes your problem then you are good to go. If not, follow the Fix 2.
Before disabling the windows search, let’s do some basic stuff that will also help your PC to become faster. These will also help you to fix this problem. Stop all unnecessary software that gets started automatically when you start the windows. Didn’t ring any bells? Follow this guide – How to stop unnecessary apps to get started on Windows startup.
To stop Windows Search follow these steps –
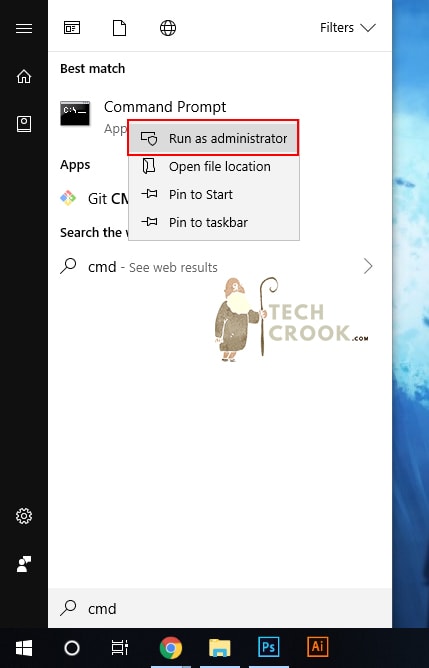
Step I – Open command prompt as Admin. Just search cmd in windows search, right click on that and click Open as administrator.
Step II – Type – net.exe stop “windows search”
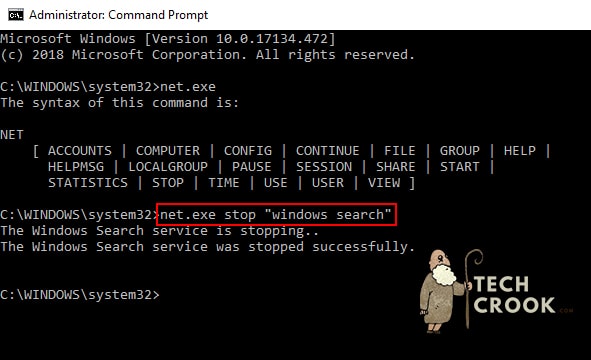
Step III – Once done, check your system performance again. If performance is back to normal then you are good to go.
Fix 2 – Disabling superfetch service to fix 100% disk usage at startup
Another reason that let your disk usage to 100% is superfetch service.
What is superfetch in task manager in Windows? Why disabling it is a good idea?
Superfetch is the service launched with Windows Vista to speed up app launching by preloading apps as per your usage patterns. So basically, it will help you quickly launch the app that you use most frequently.
Looking at what it does, you can say its good to disable this service. As it is predicting which software you use frequently and build pre-cache so when you start it, it gets started in no-time. Though it won’t create a drastic effect if compare with the issue. Here is a very helpful Microsoft discussion thread that you can follow.
So, yes it is good to disable superfetch service.
How to disable superfetch service?
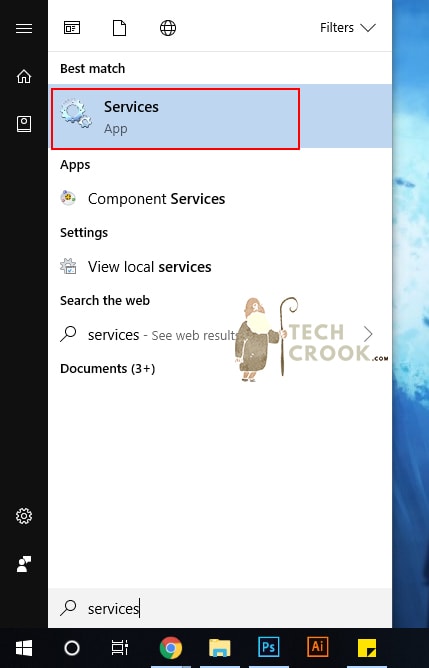
Go to Windows search or Start Menu and search for services and hit Enter.
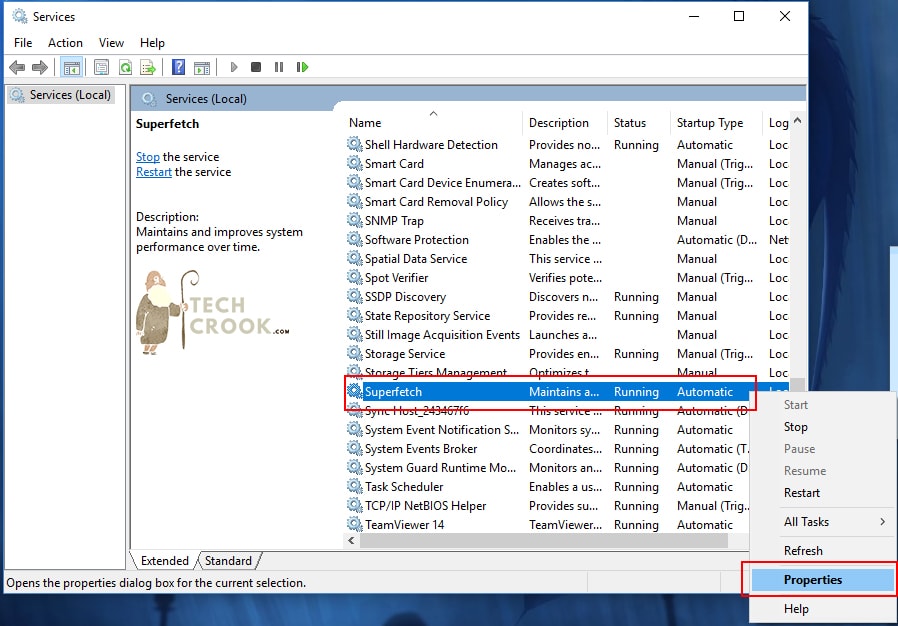
Look for Superfetch in the list, right click on it and select properties.
Now, in the general tab, select startup type to disabled. This will stop superfetch to get automatically started on system startup from next time you open your Windows.
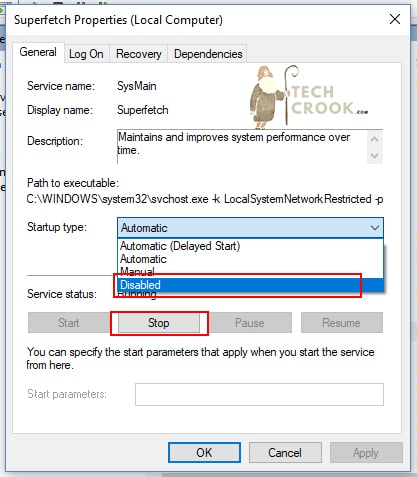
Then click on the stop button at the service status, this will stop the superfetch for the current session.
That’s it! Now restart your PC and see the changes. If it still not fixed follow the fix 3.
Fix 3 – Check your Hard drive for errors
Check your hard drive for any error. Here is how to check if there is any problem with your hard drive or not using cmd (command prompt).
Another fix is something that is related to Google Chrome. Google chrome suck up all the disk space and hence it is mostly responsible for 100% disk. So, here is another small hack that will be useful and have no negative side effect on performance.
So, what we are going to do is stop adobe flash player that is running continuously on chrome. In Chrome, go to address bar and enter: chrome://plugins
If you have Adobe Flash player installed for viewing videos (BBC iPlayers requires Flash on desktop browsers, for instance, as do many other video streaming services, as well as browser games) then you will see it listed as adobe flash player here.
Click the disable button.
That’s it! Comment which solution worked for you and if there is any other solution that you figure out after going through other articles to this problem then don’t forget to comment below. It will be helpful for others too.


4 thoughts on “How to fix 100% disk usage at startup in windows 8/8.1/10”
Comments are closed.